

Registration
This page is for a tenant — a business signing up to get its own CRM. If you're the platform operator creating an account on someone's behalf, see Tenant Management instead.
Signing up gives you your own Krayin CRM on your own web address, ready to use the moment you finish. The whole thing takes a few minutes.
What you'll learn
- How to pick a plan and start signing up
- What each step of the sign-up form asks for
- What happens right after you register
Start by picking a plan
Registration begins on the pricing page. Choose the plan that fits — you can change it later — and select Select (or Start Free Trial on the trial).
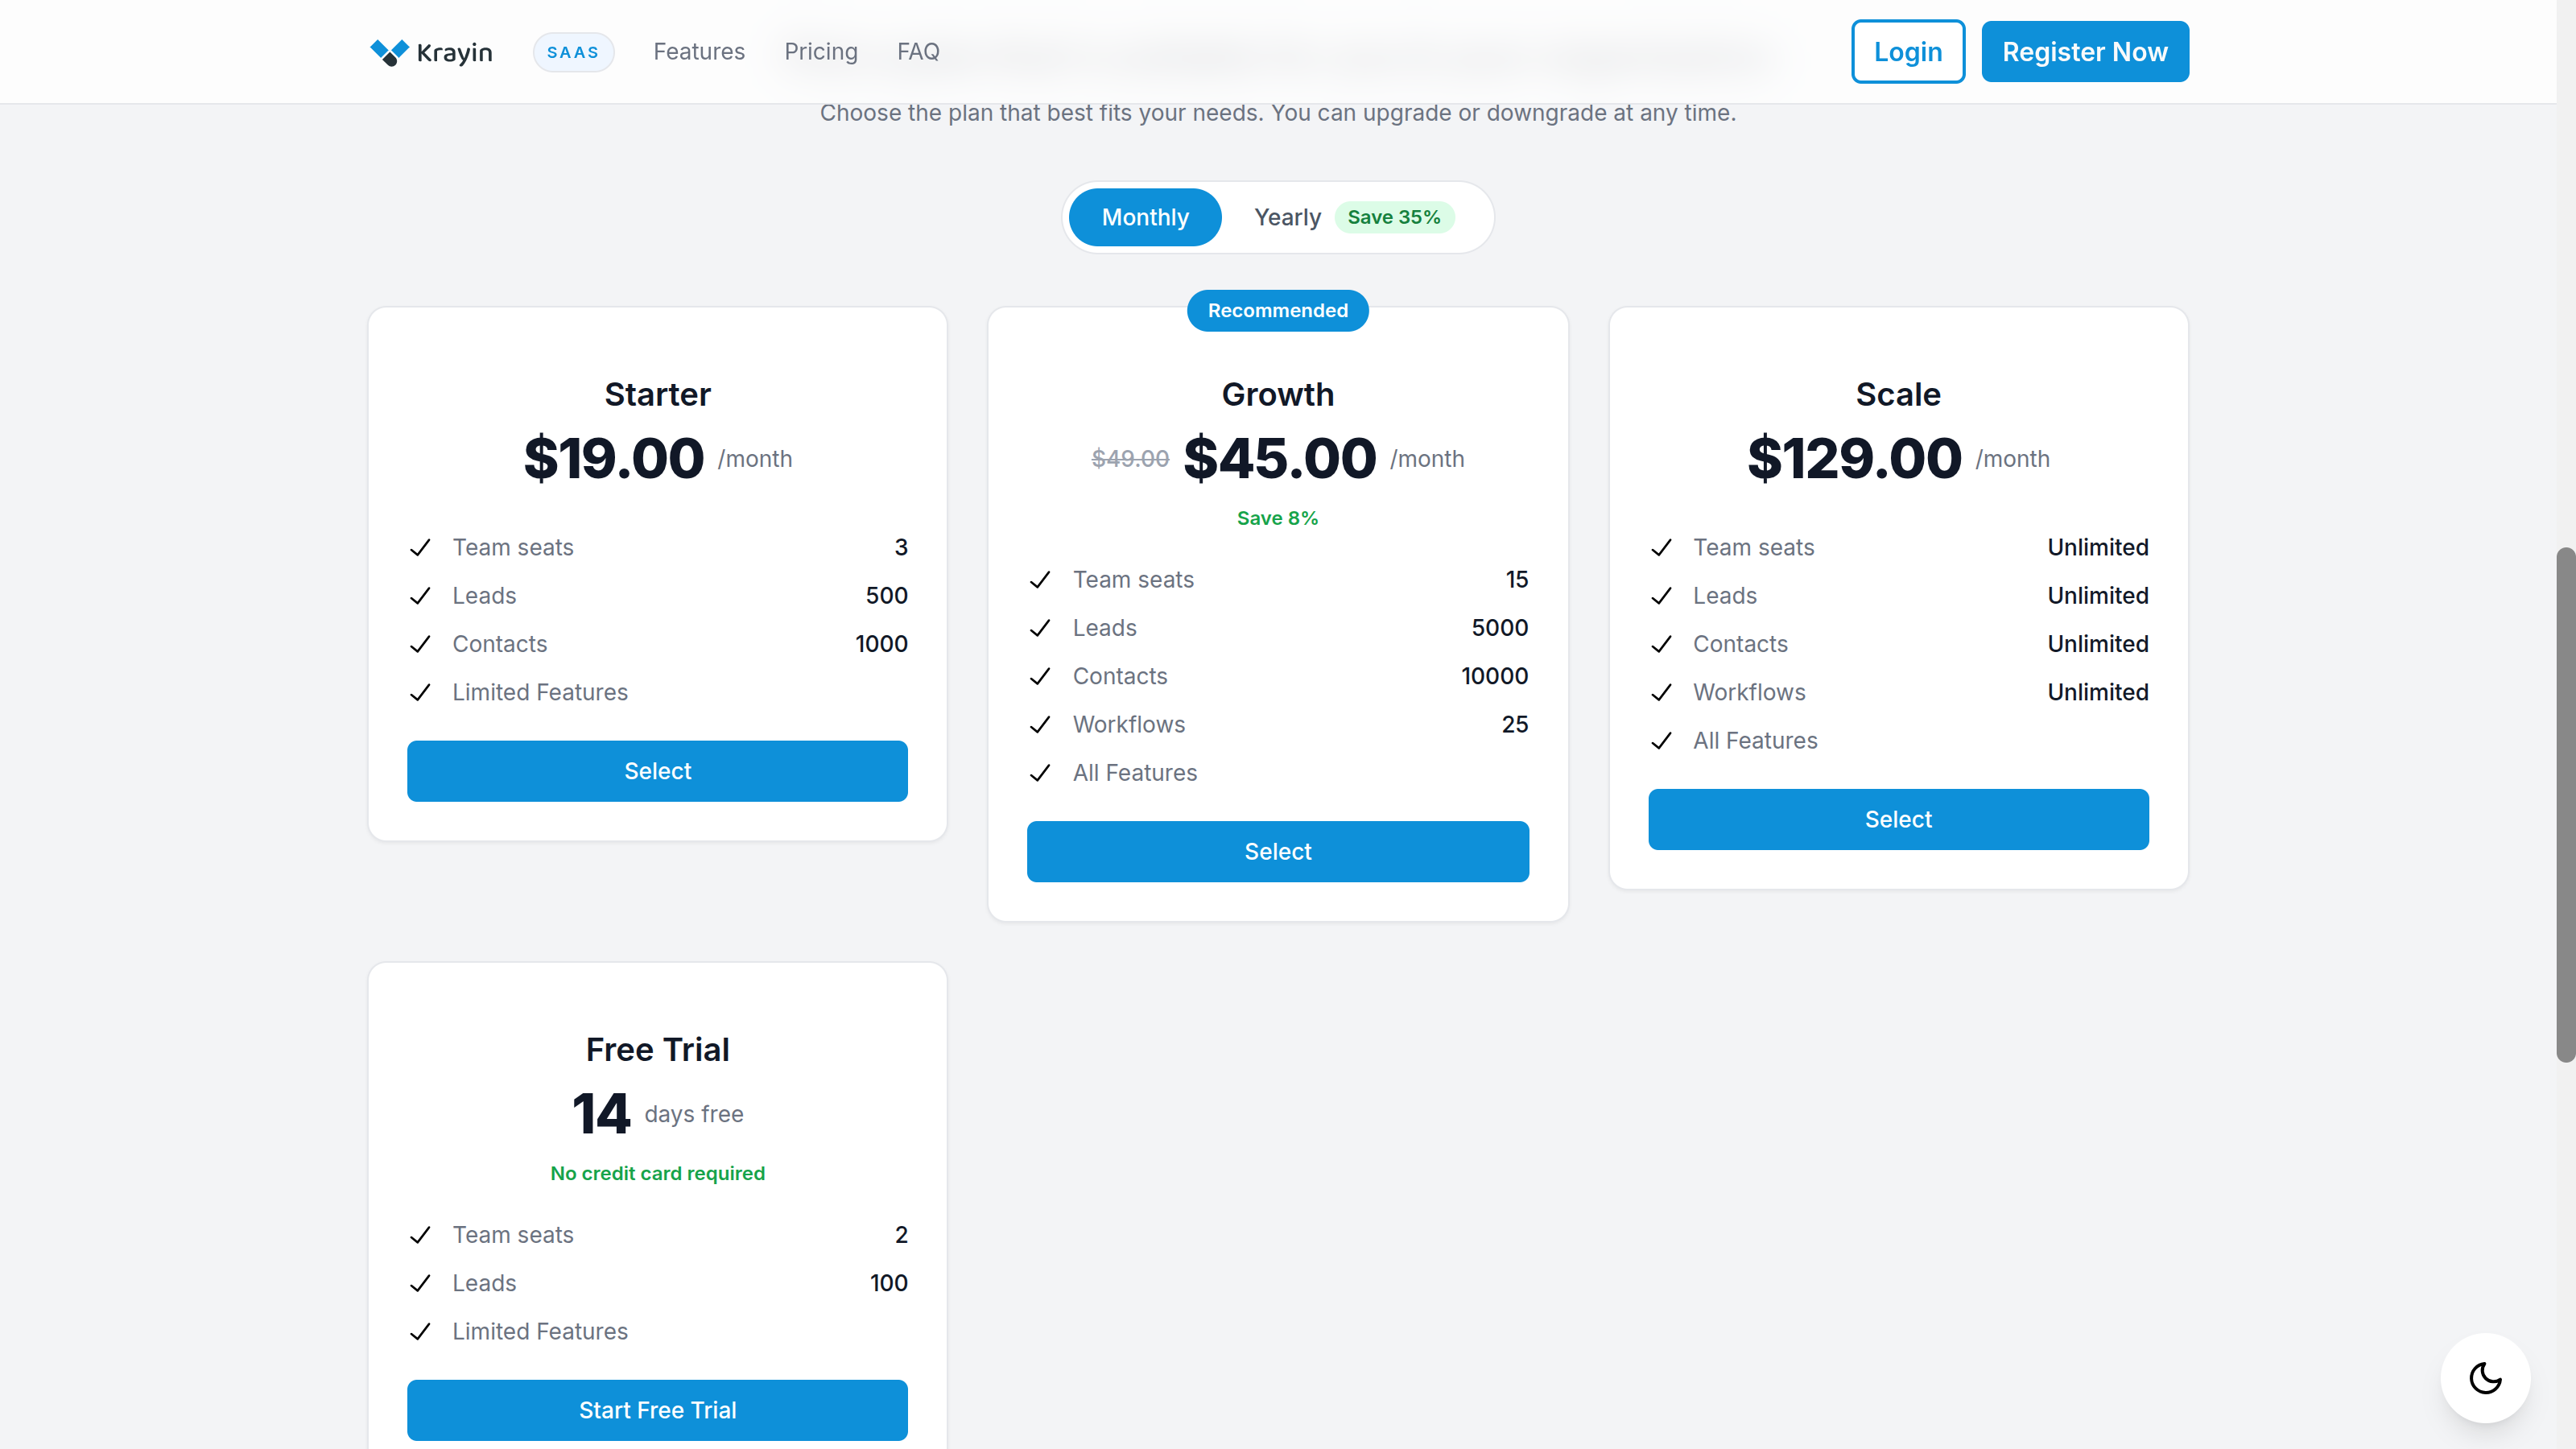
Choosing a plan opens the sign-up form. For more on the plans themselves, see Choosing a Plan.
The sign-up form
The form has three short steps.
Step 1 — Organization Details
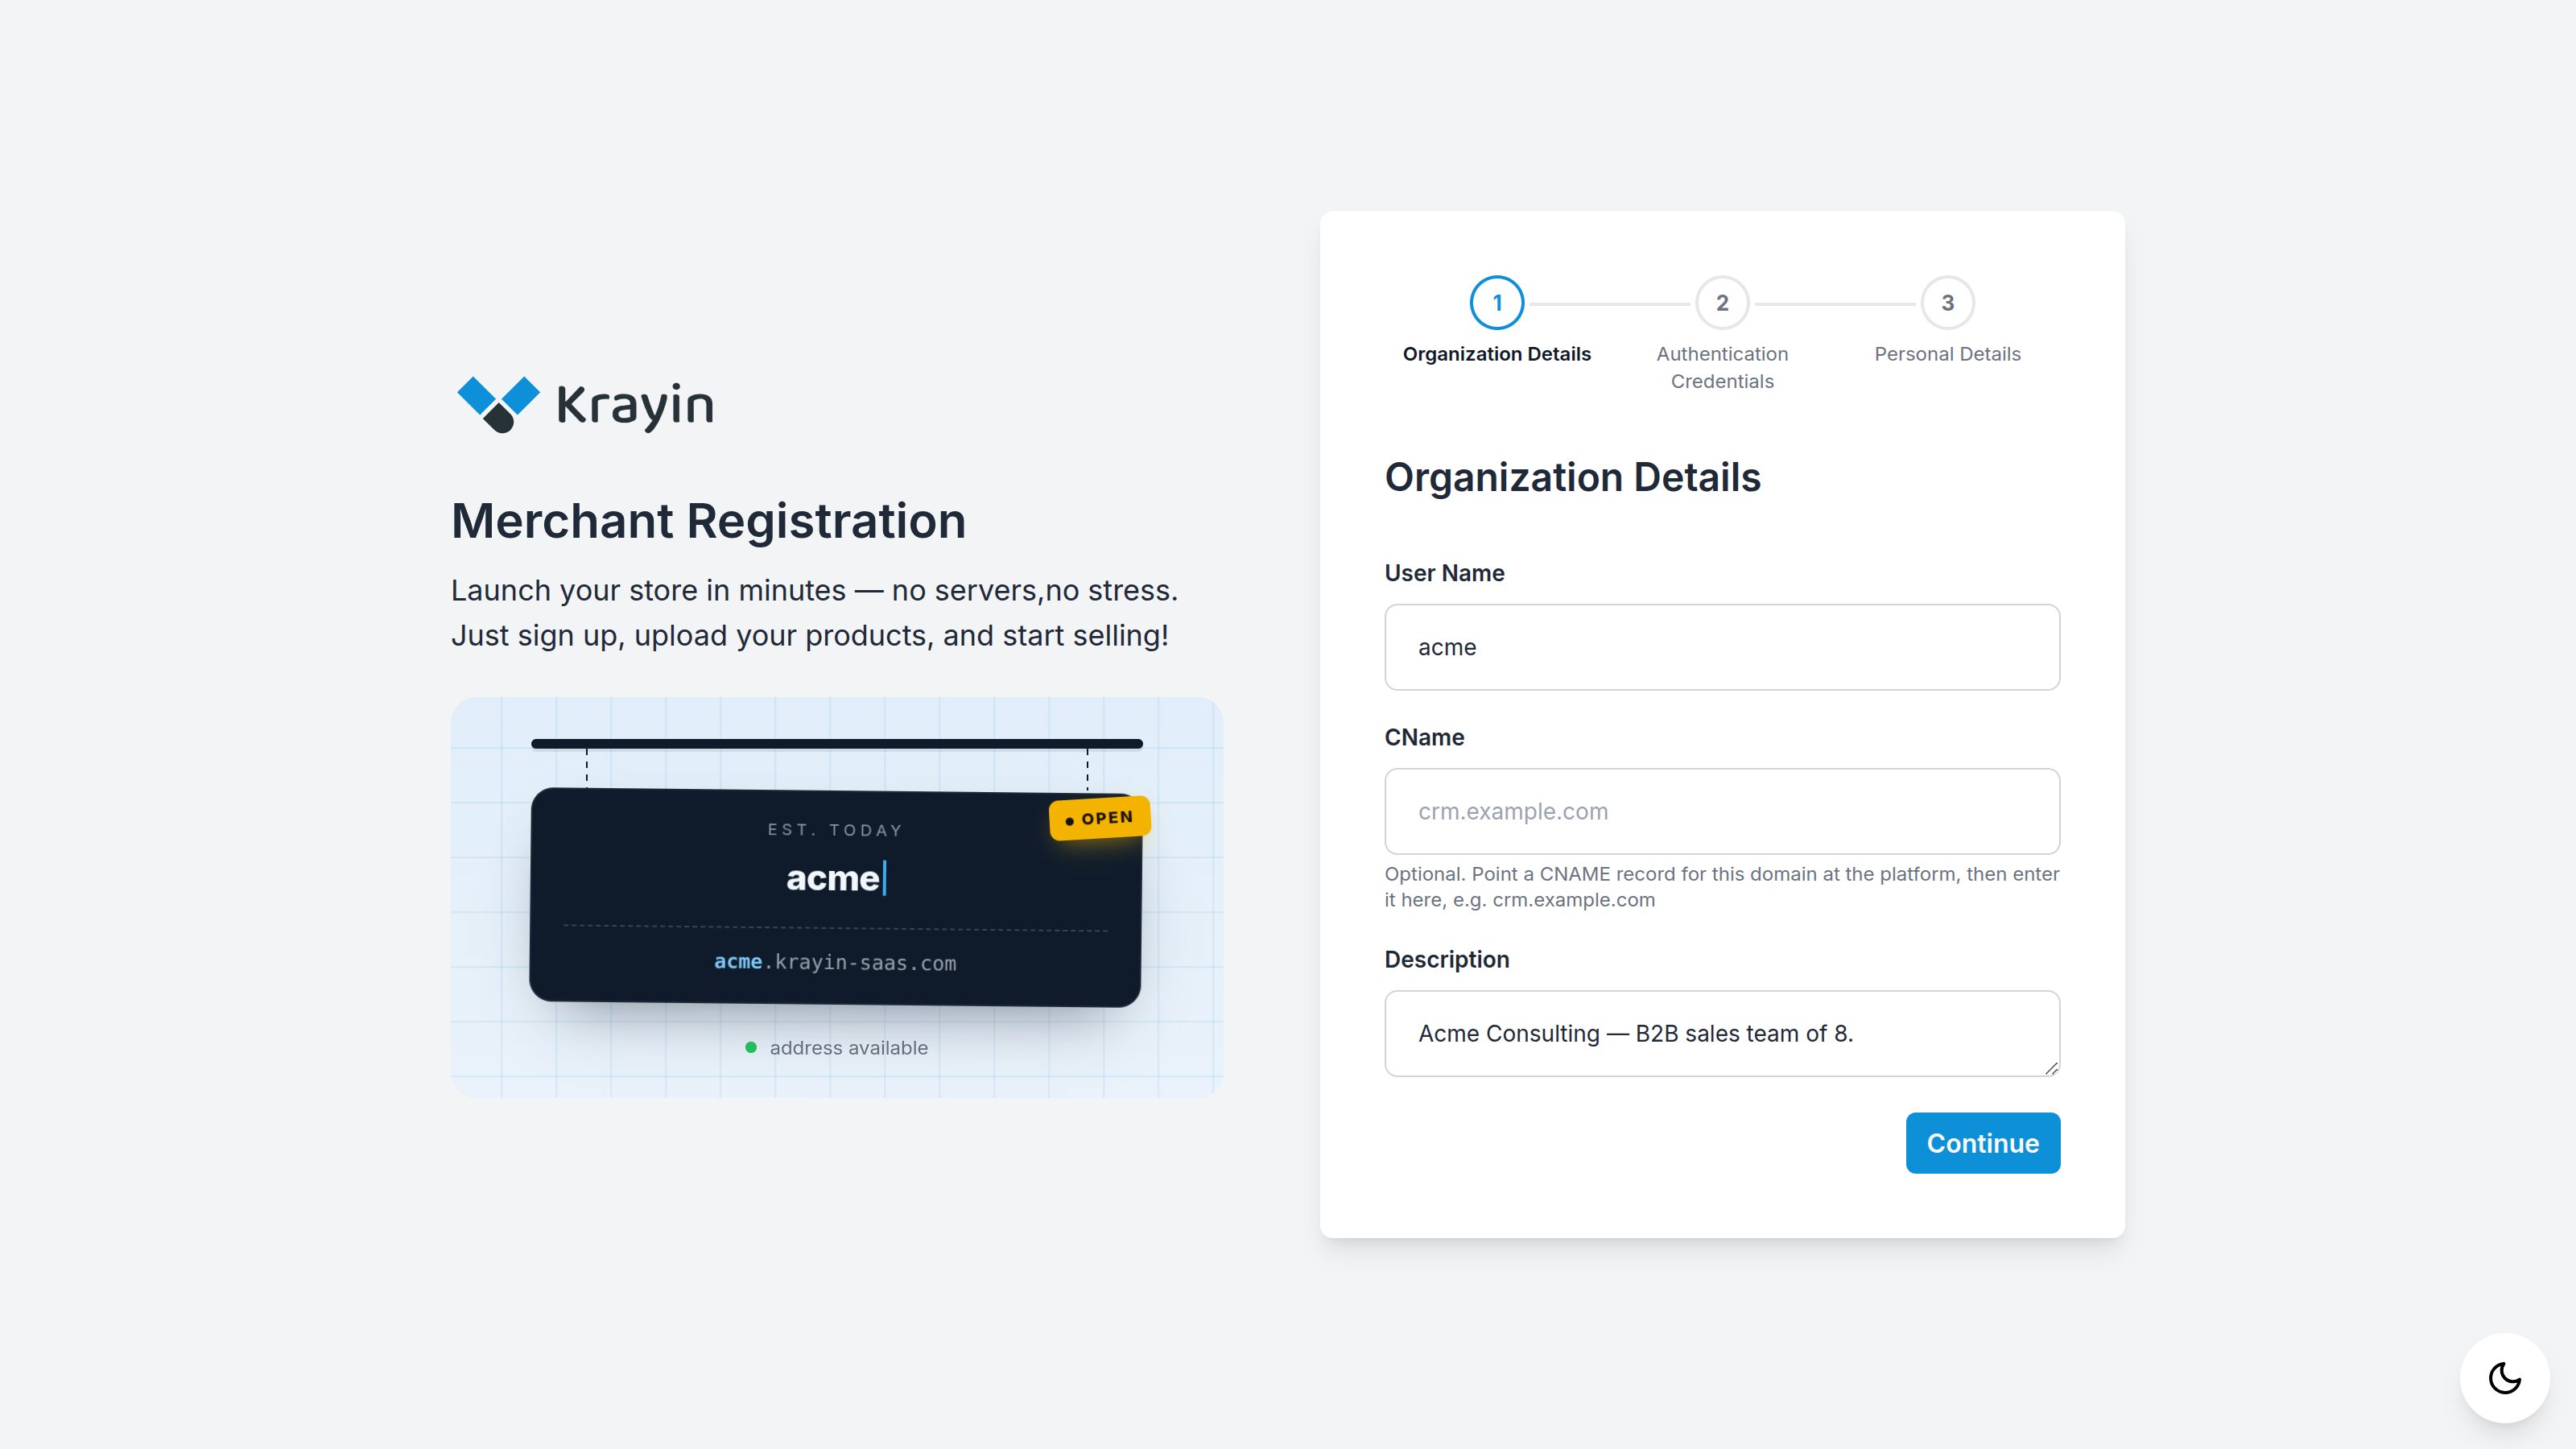
- User Name (required) — this becomes your web address, so
acmegives youacme.yourplatform.com. Use lowercase letters, numbers and single hyphens only. It must be unique — if someone already has it, pick another. - CName (optional) — your own domain, if you'd rather use
crm.yourbusiness.com. Leave it blank for now; you can add it later. See Custom Domains. - Description (required) — a short line about your business.
Select Continue.
Step 2 — Authentication Credentials
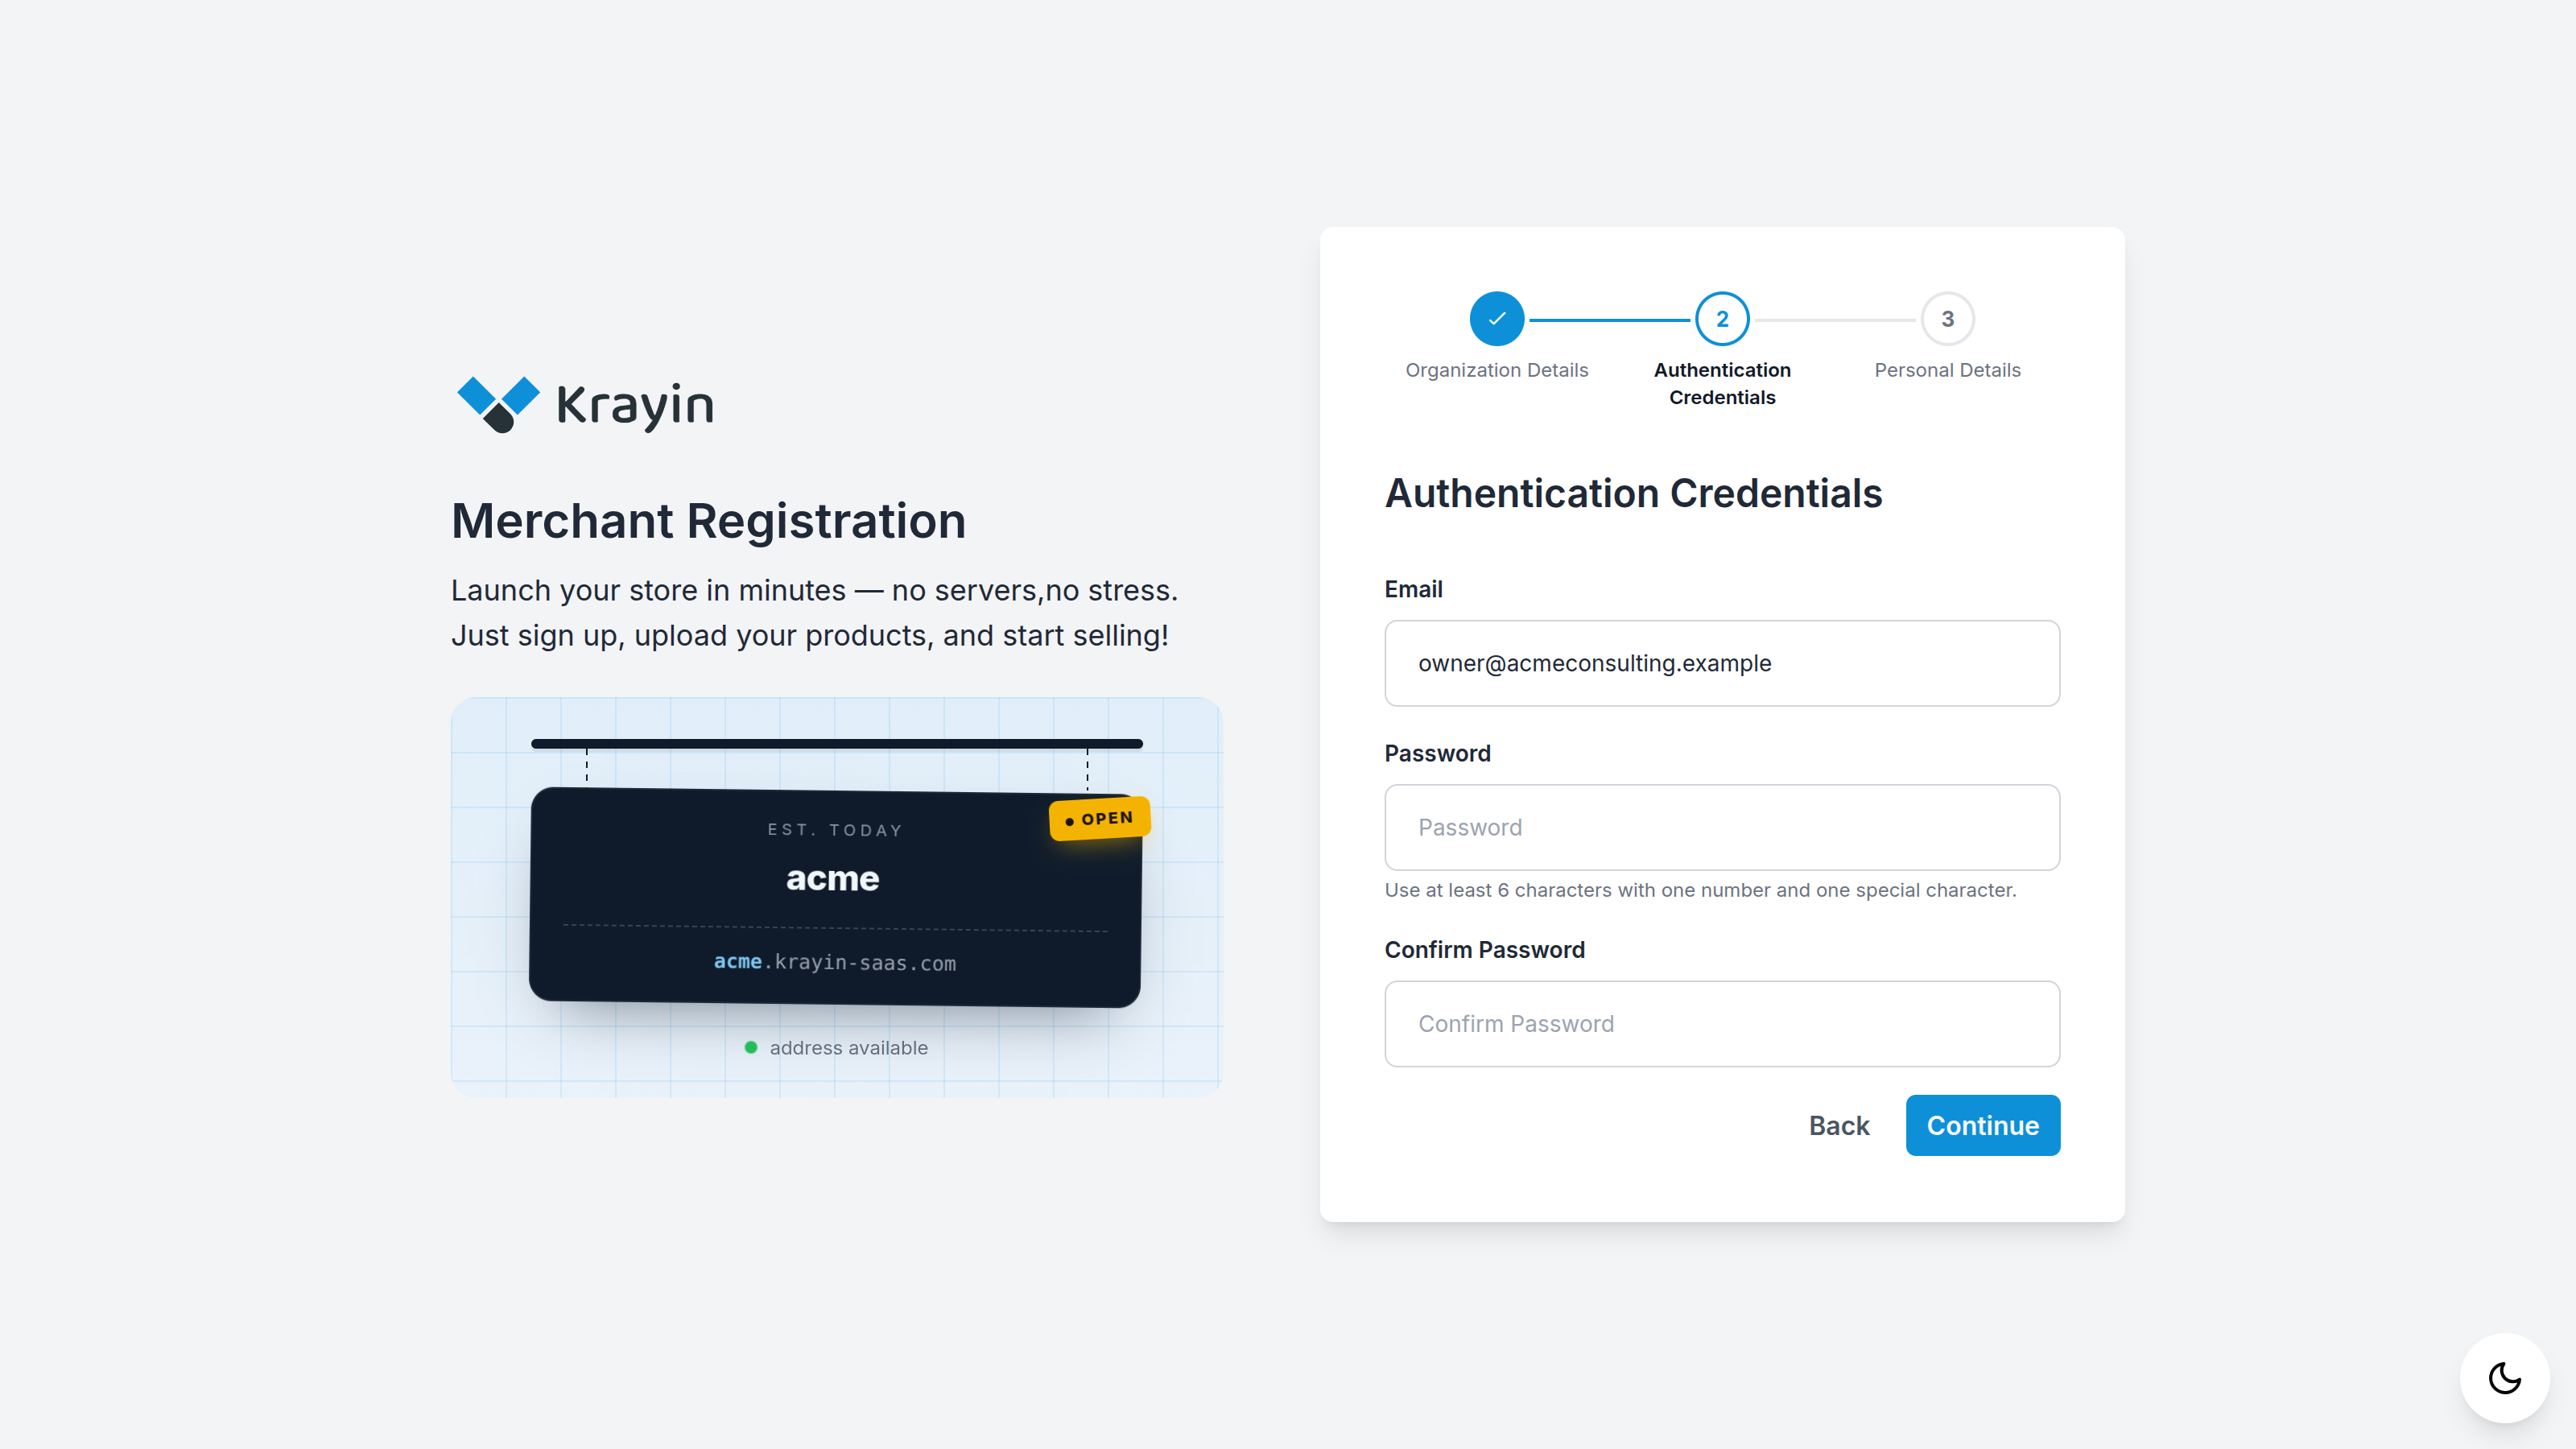
- Email (required) — your sign-in address, and where we'll reach you. Must not already be in use.
- Password (required) — at least 6 characters, with one number and one special character.
- Confirm Password (required) — type it again to be sure.
Select Continue.
Step 3 — Personal Details
The last step asks for your name and a phone number, so we know who to contact.
What happens next
When you finish, your CRM account is created immediately — pipelines, roles and starter data are all set up for you. Where you go next depends on the plan you chose:
- A free trial — you're asked to confirm, then dropped straight into your new CRM. No payment, no card. See Free Trials.
- A paid plan — you're sent on to pay for your first billing cycle, as below.
Paying for a paid plan
Choose how to pay
After registering, you land on the Payment Gateways page.
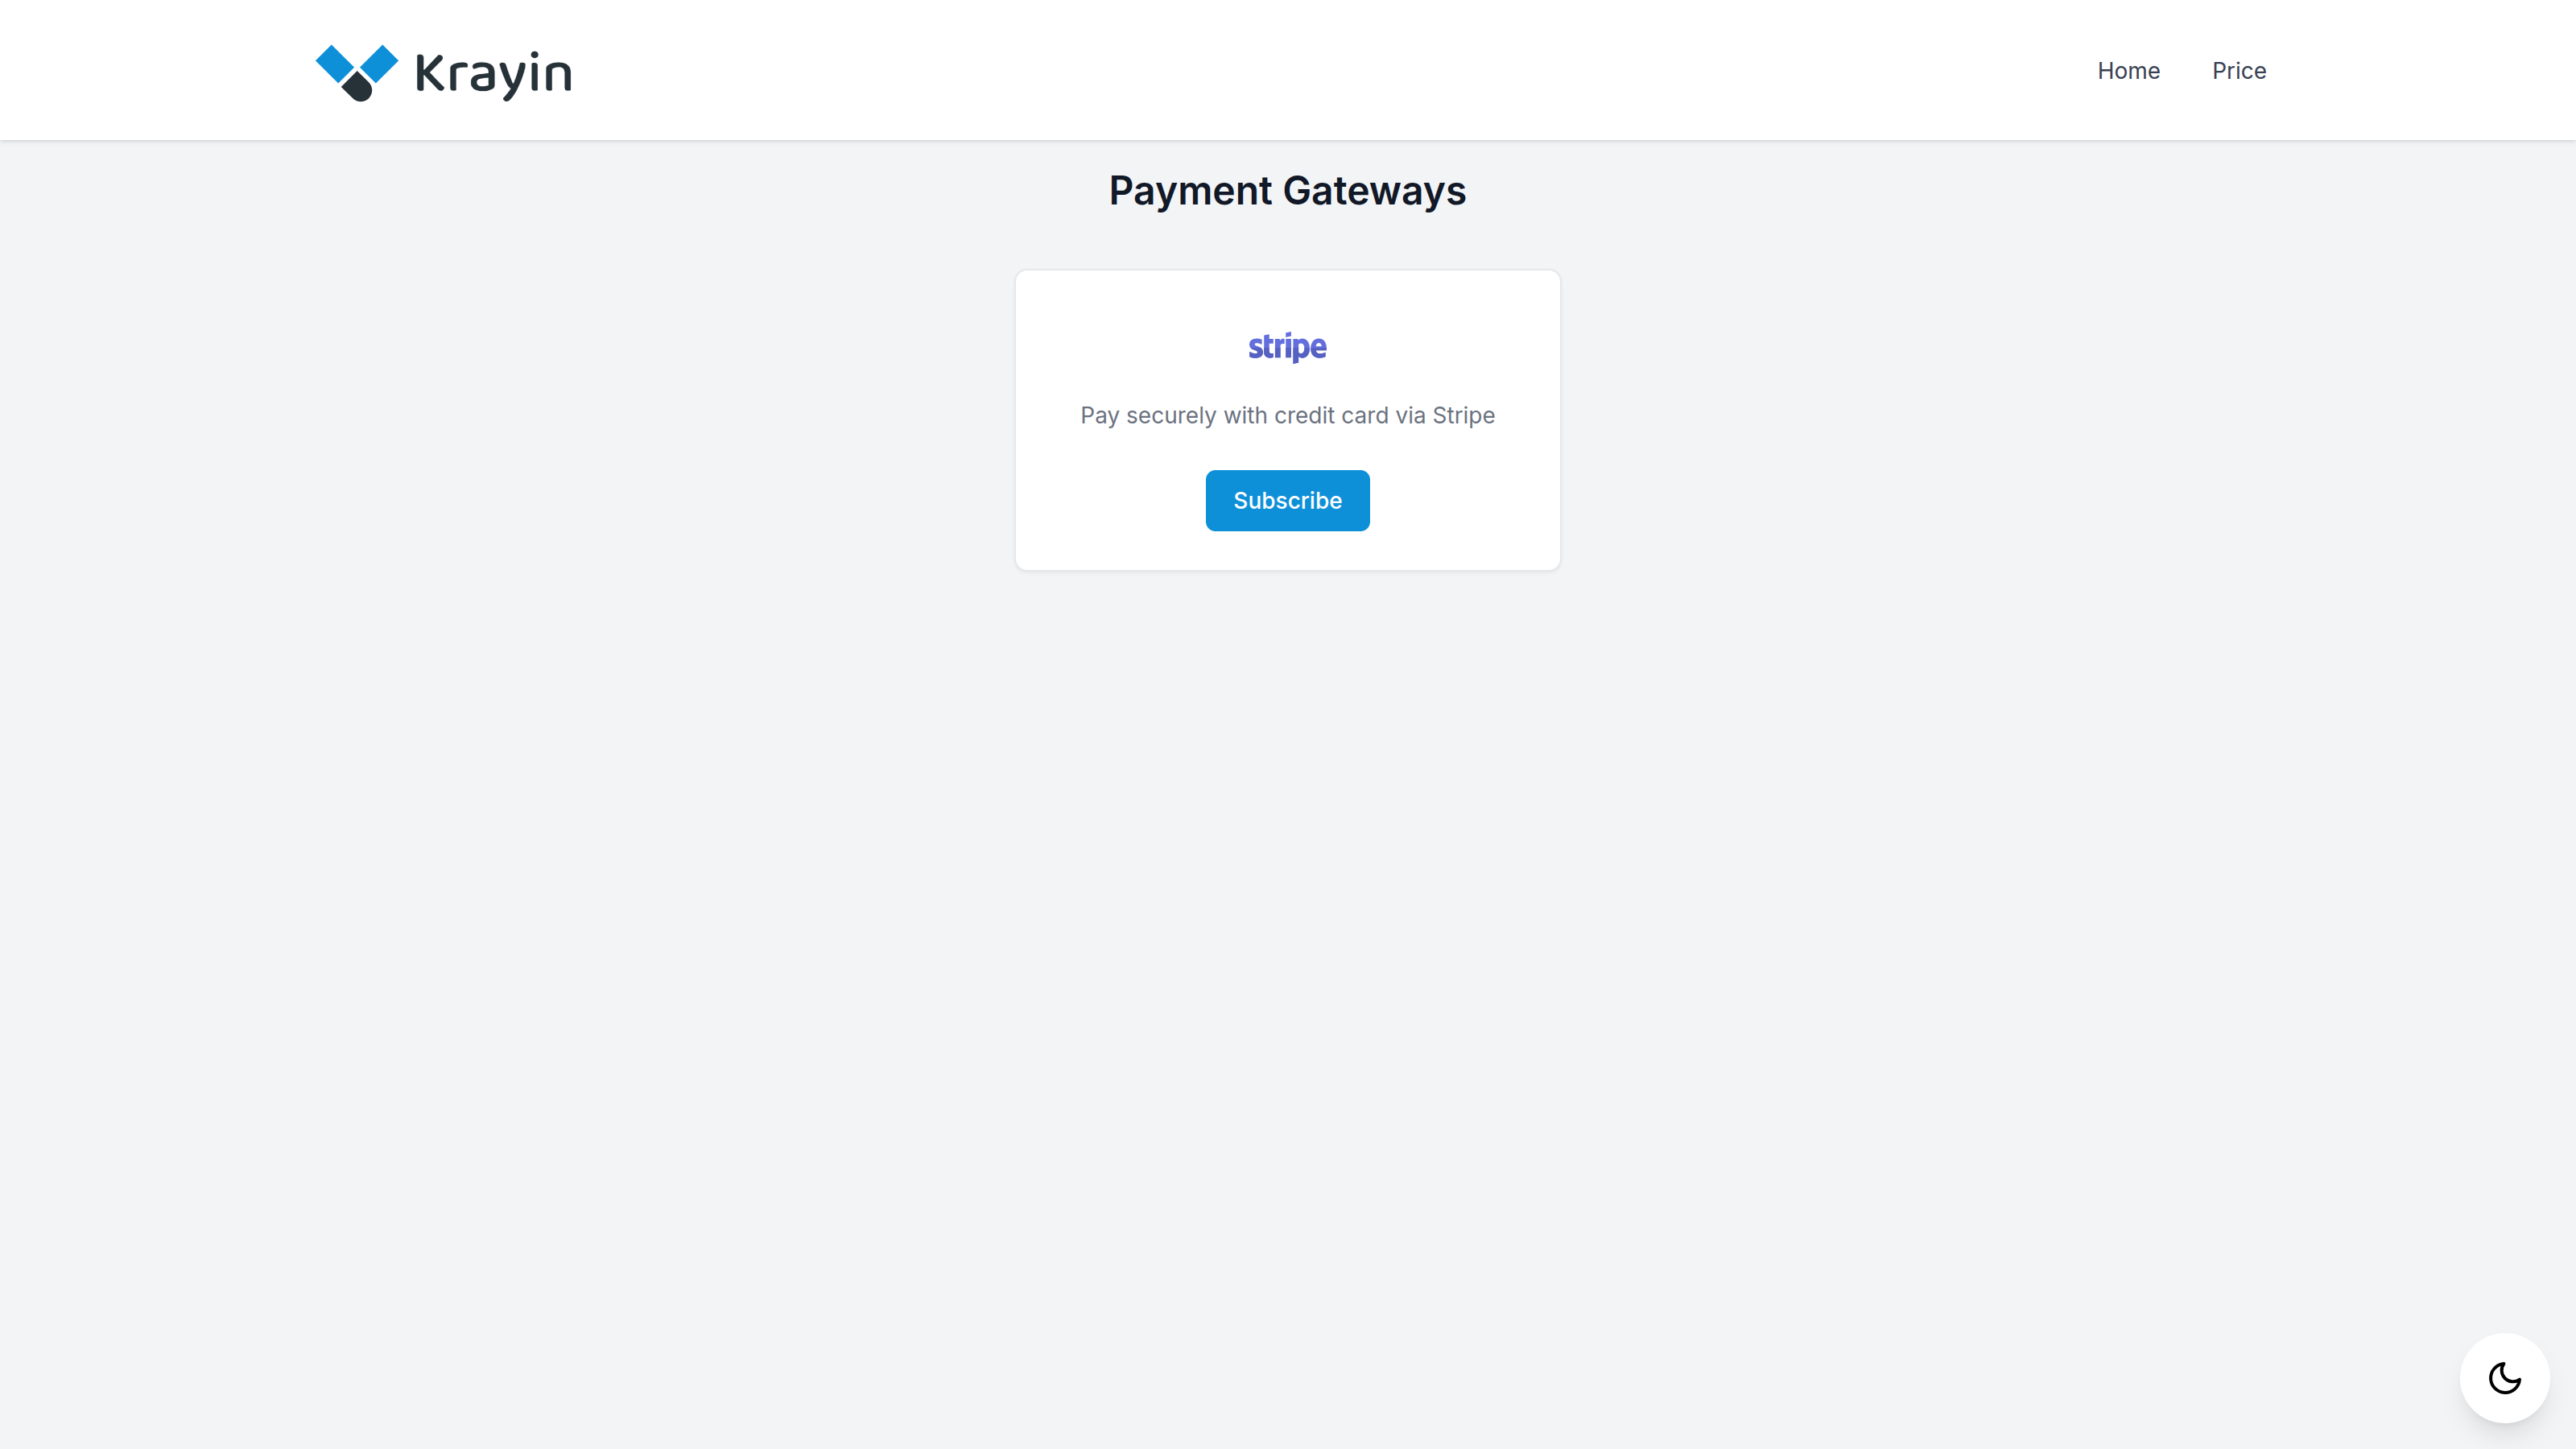
The platform pays through Stripe. Select Subscribe on the Stripe card to continue.
For operators
Stripe has to be connected for this step to appear. If you're running the platform, set your keys under Configuration → Stripe first — a plan with no gateway price behind it can't be paid for.
Pay on Stripe
Selecting Subscribe takes you to Stripe's own secure checkout page, hosted by Stripe — not the platform.
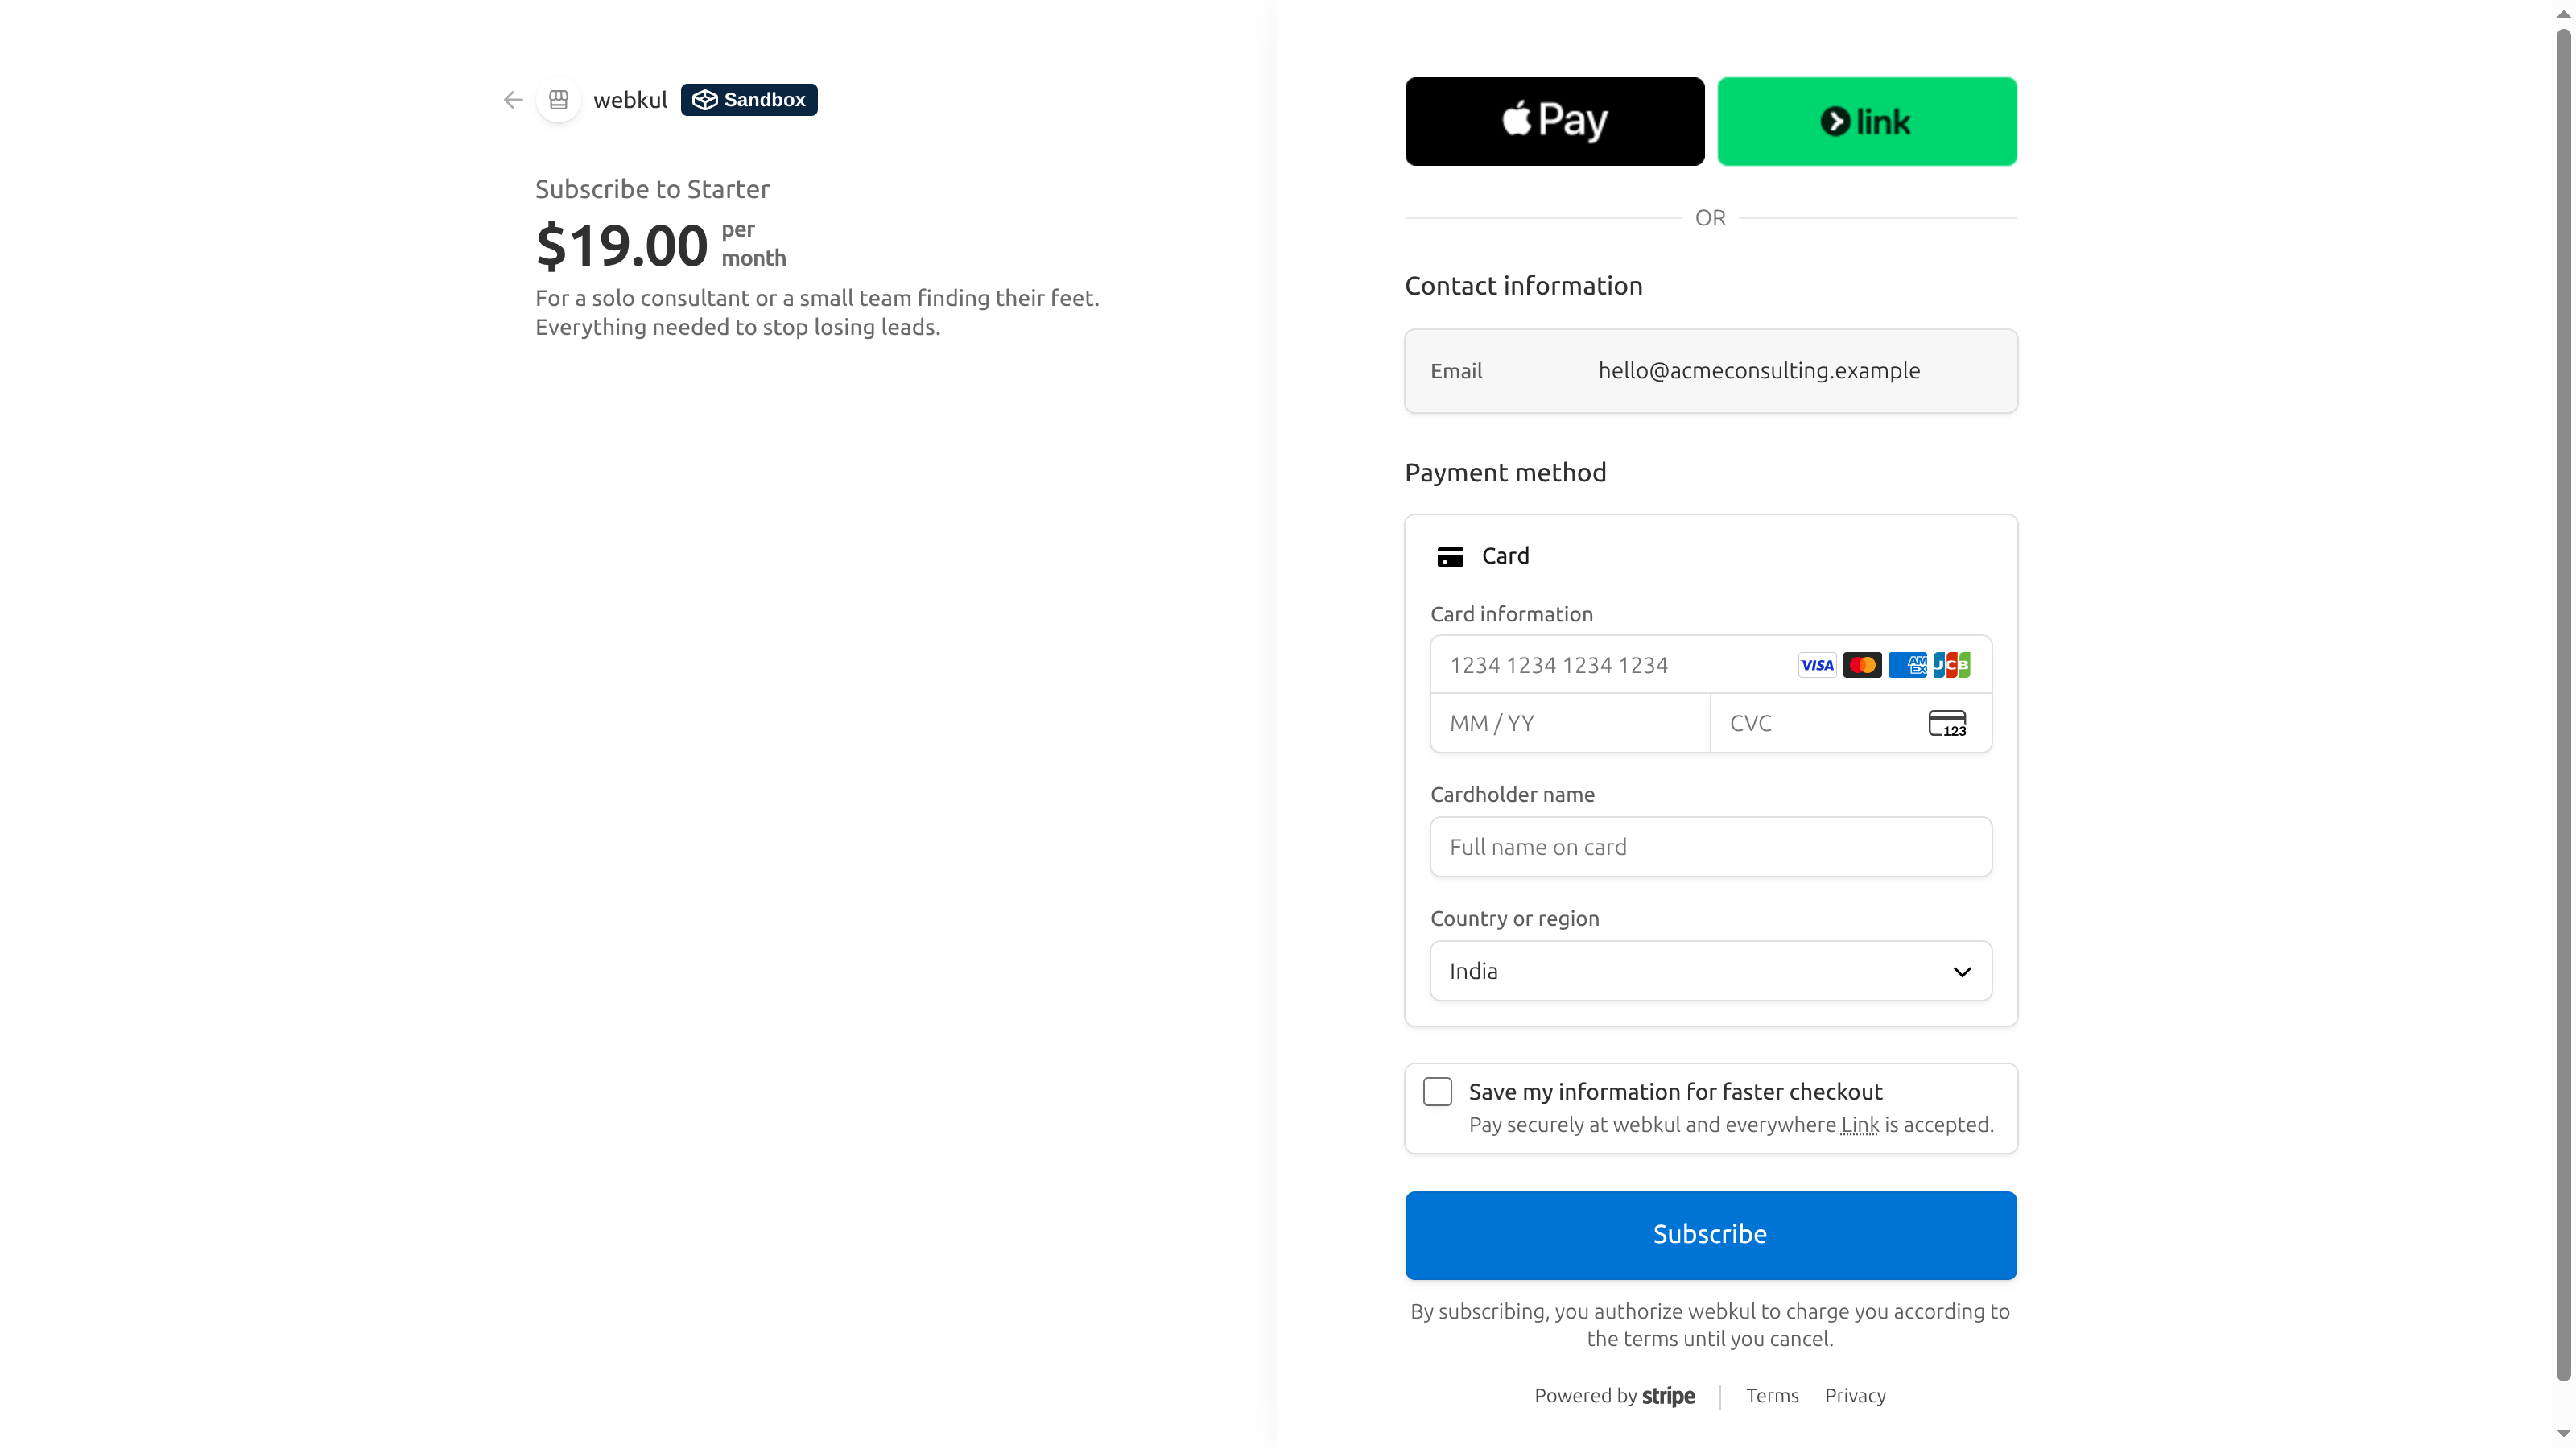
It shows the plan you're subscribing to and its price (here, Subscribe to Starter — $19.00 per month), with your email pre-filled. Enter your card details and select Subscribe. Your card is charged by Stripe, and the subscription is set to renew each cycle until you cancel.
TIP
The billing cycle you picked on the pricing page — monthly or yearly — is what Stripe charges for. Switch the toggle before you register if you want the yearly price.
Back to your CRM
Once Stripe confirms the payment, you're returned to the platform, your account is activated, your first invoice is raised, and your CRM opens. From then on you sign in at yourusername.yourplatform.com/admin/login.
If you close the Stripe page without paying, nothing is charged — you can come back and subscribe from Subscription → Plans inside your workspace.
Where to go next
- Get to know your new CRM → The Tenant Workspace
- See your invoices and manage the subscription → Billing & Invoices
- Compare the plans before you commit → Choosing a Plan
- Use your own domain → Custom Domains